When I ordered my keyboard, I assumed it would come with instructions. Behold, on the zealous day when I finally received the box, it occured to me that the only paper the box held was the receipt. what fail.
And so begins a frantic search for specific instructions online... yelding zero (for my specific lappy). Luckily all dell lappies are somewhat similar so I was able to wing it. Although, I guess a picture journey of keyboard removal would be useful for those (newbs like me!!!) who also have a Dell Inspiron 1440. So whether you stumbled here by google search or not, here you go. Your route to a new keyboard in 9 easy peasy steps.
1. Admire your nice new keyboard..... and it's dust-free-ness.

2. Unplug lappy. flip flip flip. pop out the battery and cherish how light your laptop is without the darn battery. ahh... if only.

3. Dig out your flat headed screw driver.. take a deep breath and gently fit lift the plastic casing above your keyboard. For the Dell 1440, the whole flap (including the curved top) is actually one whole piece.

4. If you hear a click. something didn't break. lol. you probably just loosened the backing. There are two notches on each side and one in the middle. Once you loosen the two on each side, loosen the middle one and lift from the middle. Make sure you are gentle!


5. Success! Unscrew the two screws below using a philips screwdriver.

6. Slide up keyboard, but watch out there is still a ribbon cable attached.

7. Release the ribbon cable by lifting up the flat wide latch as shown. At this time you may want to flip your faulty old keyboard over to view the accumulated dust, fluff and crumbs bountiful enough to feed a family of rats -___-


Just kidding. I used a mini vacuum, and a microfiber cloth. conveniently found in your eyeglasses case ;)
9. After your lappy is dust free, install in the new keyboard in the opposite manner of how you removed it. (ribbon in, snap latch, slide keyboard in, screw in the screws. put in battery, and turn it on very briefly just to double check if the new keyboard works. if it does, snap the top covering back on) and yay.
10. Give yourself a pat on your back. Feel techy for 10 minutes until you realize this is the basics of basics (my own realization as well) but nevertheless... YAY. You just saved yourself labor cost!
Hope this was helpful and not downright annoying :/
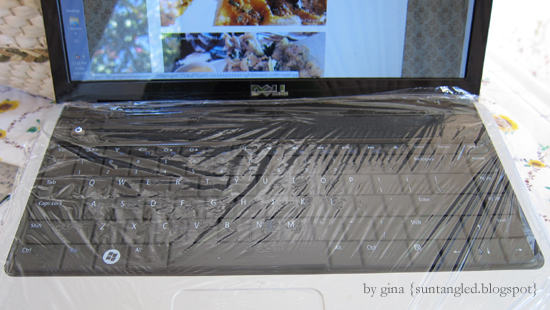
Anyway, after being shocked at the remnants in my keyboard, I have vowed to keep my laptop covered as much as I can. Here is my current cheap-o asian keyboard covering method. =) <3 cellophane wrap!
That's it for today!
yayyy you can typeeee.
ReplyDeletei'd watch the saran wrap though. that's possibly the least breathable material you can put on your keyboard.
buy a keyboard cover thing from Asia! I'll take a pic of mine....
ReplyDeletethat's pretty awesome, congrats on the do it yourself!
ReplyDeleteI am officially impressed. NICE!
ReplyDelete